Import hours from TimeChimp
It is possible to import hours from another time registration app into Keeping. You can find the import and export features under Settings → Organisation, in the Import and Export tabs.
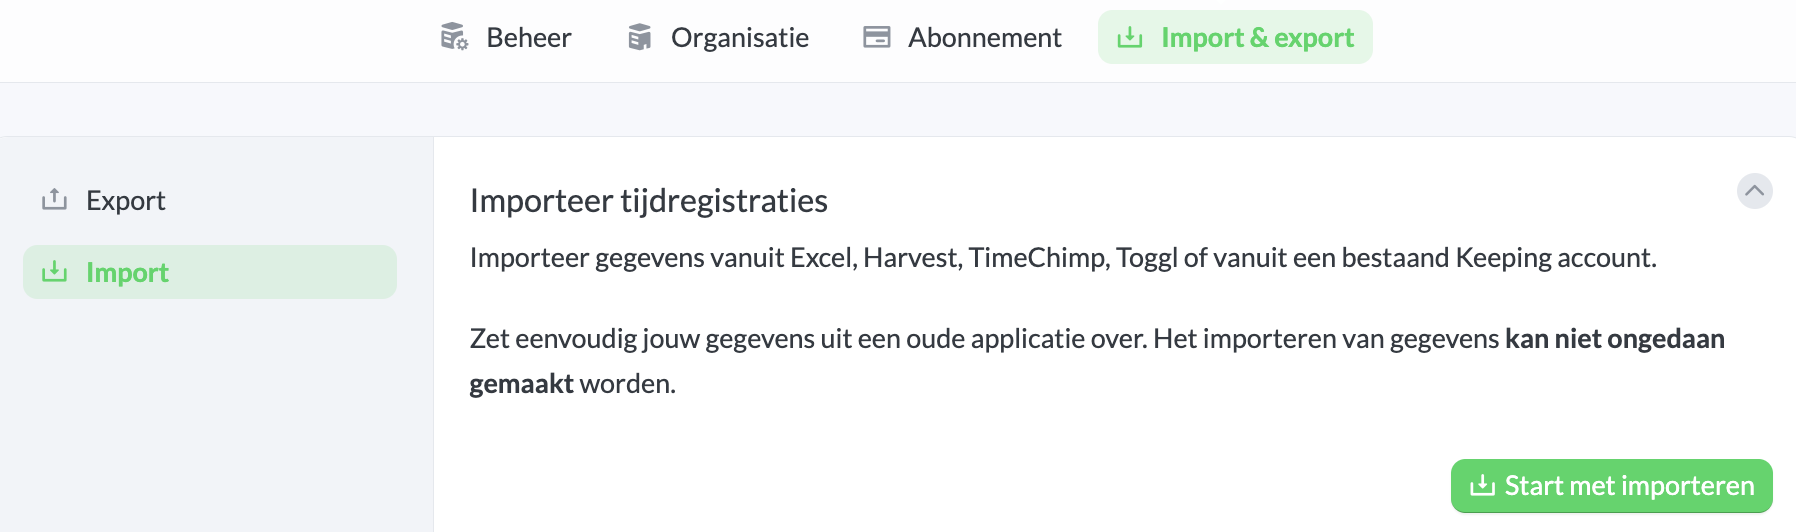
Then go to the Import section and click Start Importing. Choose the application from which you want to import time registrations.
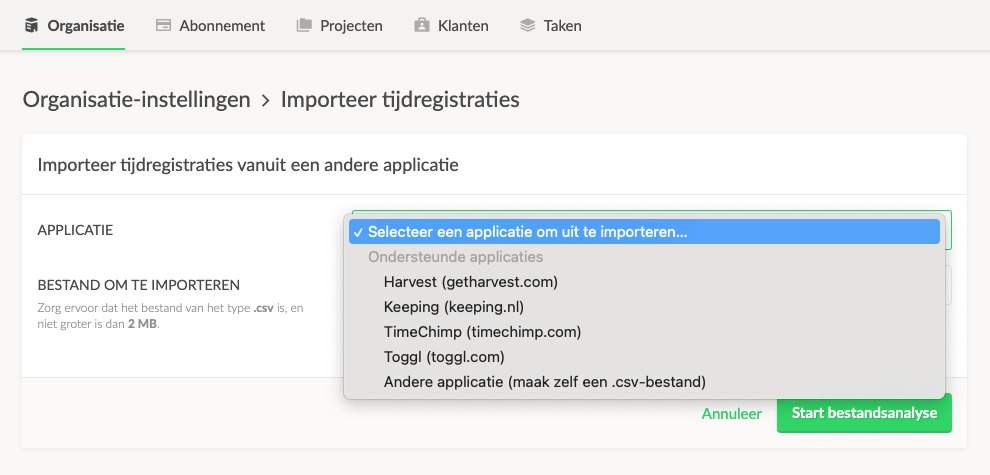
Below is a detailed step-by-step guide for exporting and importing time registrations within Keeping.
Correctly Exporting Time Registrations from TimeChimp
Below are instructions on how to export data from a TimeChimp organisation to then import it into Keeping. In TimeChimp, you can select a period with time registrations under Reports. Read here for the TimeChimp manual on exporting time registrations.
- Log in to TimeChimp as the administrator of the organisation.
- Click on your name at the top of the menu and then on
My Settings. Ensure that the General Settings on the "My Settings" page match the preferred settings in your organisation in Keeping, particularly the Timezone. - To proceed, click on
Reportsat the top of the menu. - Select the period you want to export.
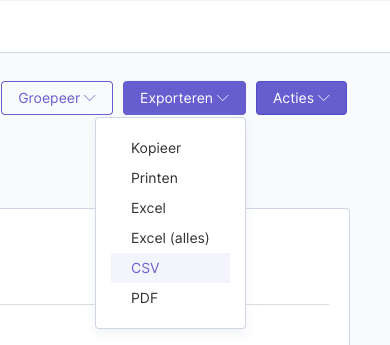
- Download a .csv export file by clicking
Exportand thenDownload as csv. - Now log in to Keeping as the organisation owner or Administrator of the organisation where you want to import your TimeChimp registrations. Go to the import screen via
Settings>Organisation>Import. - Select the .csv file from TimeChimp under
File to import. - To proceed, click the
Start File Analysisbutton at the bottom of the Import page. Pressing this button does not start the import immediately. We will first perform an analysis. Upon a successful analysis, we will show you some details first, allowing you to decide whether you want to import the data.