Time registrations in your Apple Calendar
To link your time entries to your calendar, you need at least a Plus subscription.
View Your Time Entries in Apple Calendar
Open Keeping and go to My Hours. Click on the iCal Subscription button.
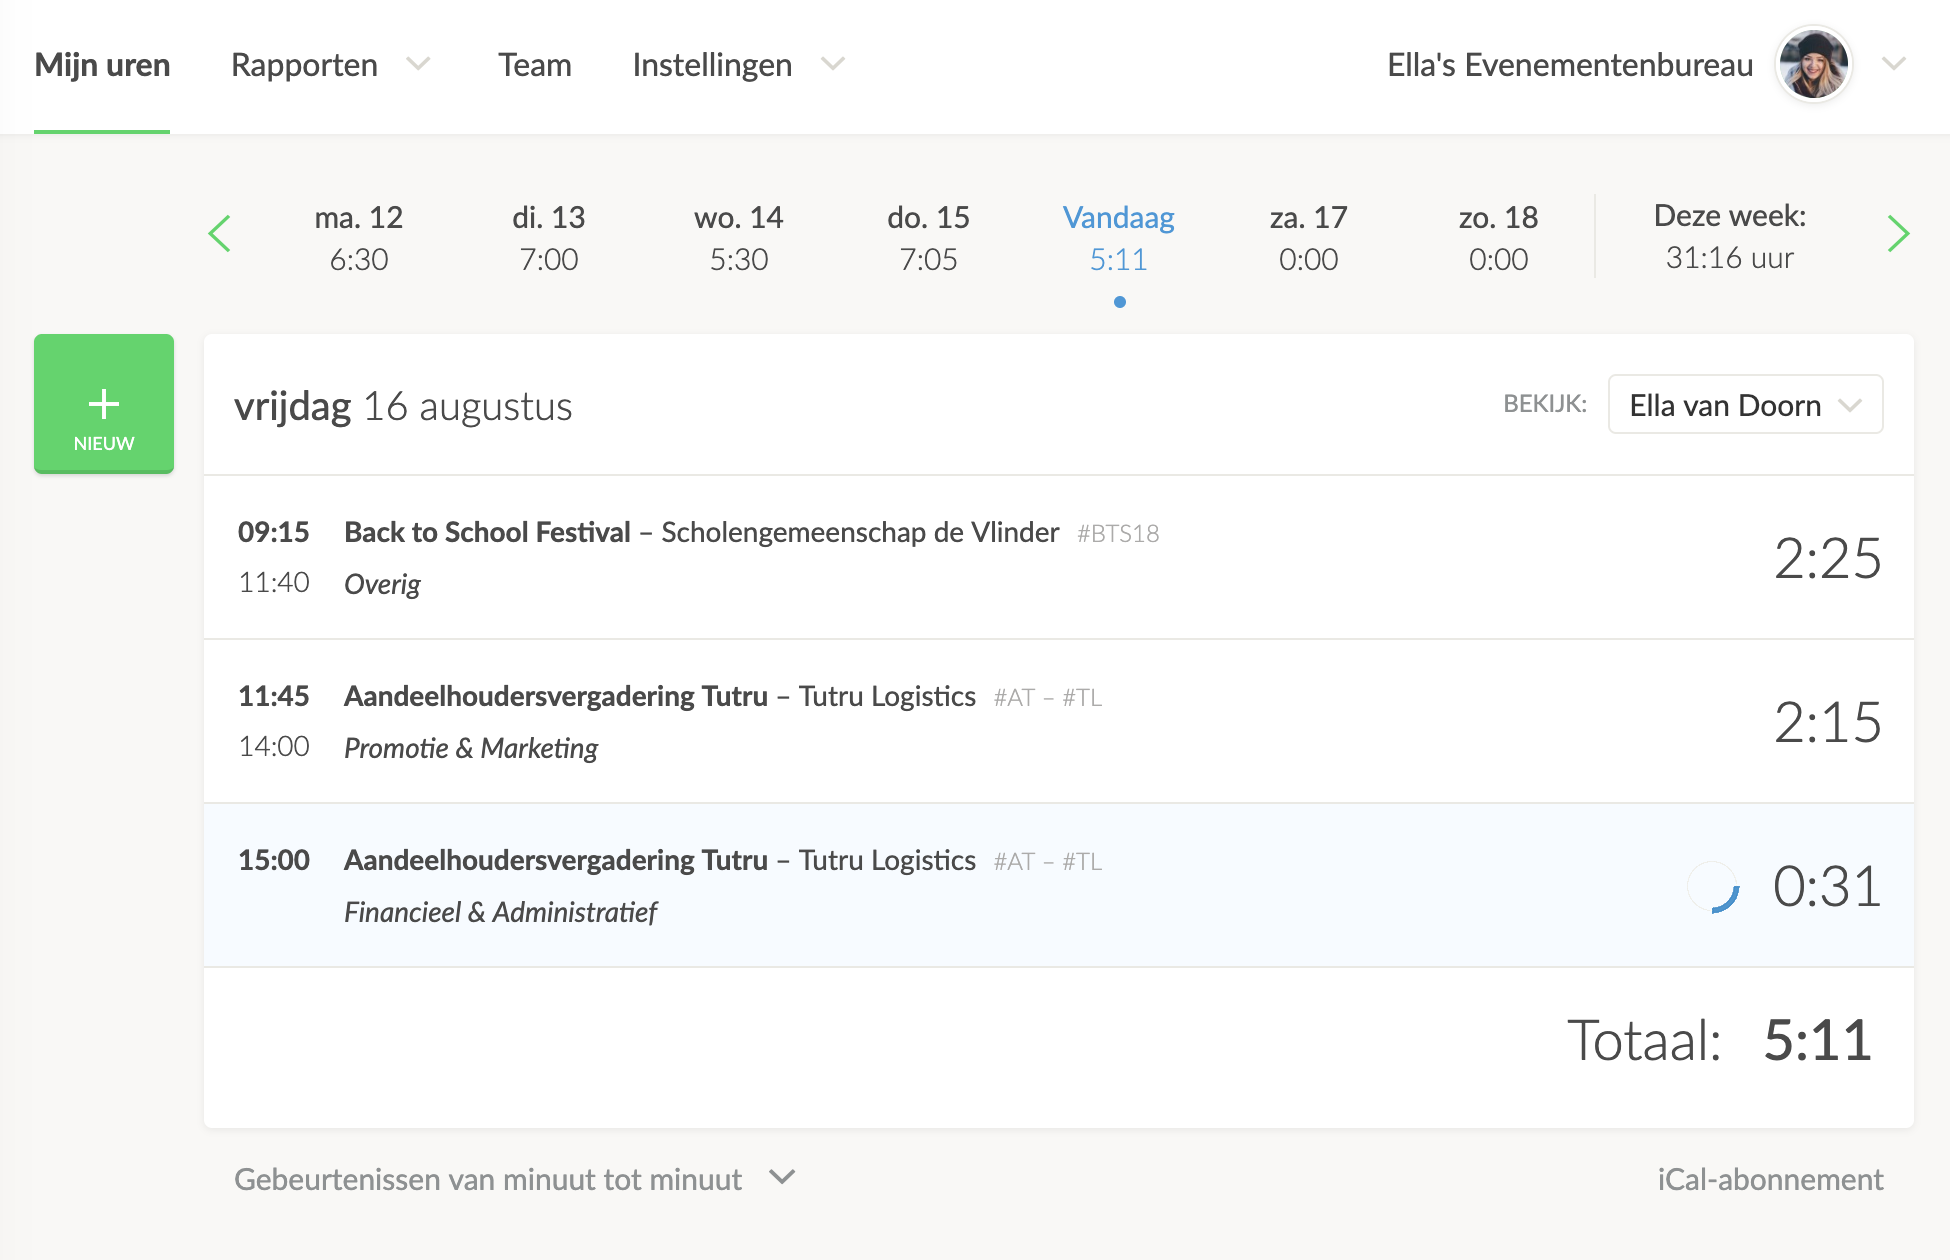
Above your hours overview, you’ll see the iCal Subscription button on the top right.
Open the Calendar App
Once you click the button, the following window will open:
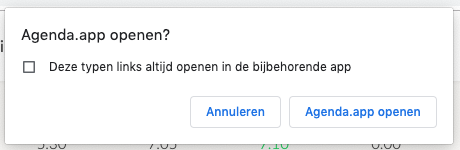
Click on the Open Calendar.app button to open your Apple Calendar.
Subscribe to Your Hours
This will open the Apple Calendar application. The link displayed in the window below is your personal hours link. Ensure that this link is known only to you. Anyone with this link can import your hours into a calendar application.
Click on Subscribe.
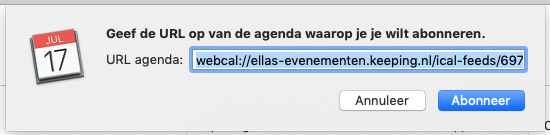
Configuring Your Time Tracking Calendar Subscription
After clicking Subscribe, your calendar application will fetch the relevant hours from Keeping. Once this is completed, you’ll see the following screen:
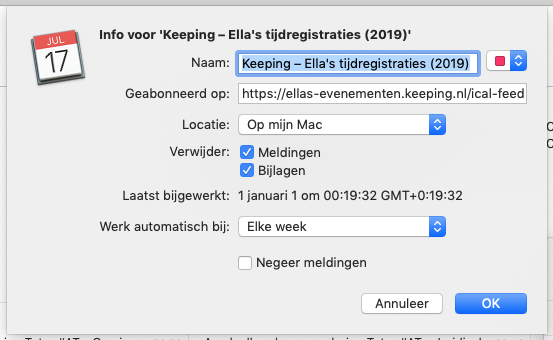
Here, you can change the name of the calendar where the hours will be displayed. You can also view the link the calendar is based on (under the "Subscribed to" field). Ensure that this link is known only to you.
Additionally, choose an interval to update your calendar (to keep all time entries in Keeping up-to-date). For example, you could select: Weekly or Daily.
This is How the Time Entries Will Appear
Each time entry will have its own event with its details. The title will include the project name, project code, task name, and task code of the time entry.
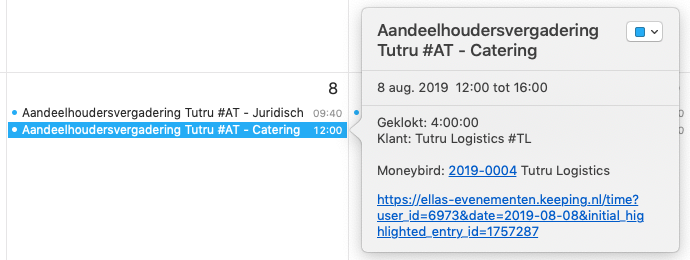
The event description will include the following details:
- Number of hours logged (hh:mm:ss);
- Client name;
- A link to the associated Integrations;
- A link to the time entry.
Read more about the calendar integration with Keeping.